Building a gaming PC on a budget might sound like trying to craft a masterpiece with a modest set of brushes—but with the right approach, it can be just as rewarding and remarkable. Whether you’re a seasoned gamer looking to upgrade without breaking the bank or a beginner eager to dive into the world of PC gaming, assembling a cost-effective rig is entirely possible. This guide will navigate you through the essentials, helping you make smart choices that balance performance and price, so you can enjoy immersive gameplay without the premium tag. Ready to turn your budget into a powerhouse? Let’s dive in.
Choosing Cost-Effective Components Without Compromising Performance
Maximizing value in your gaming rig revolves around smart choices that strike a balance between cost and performance. Instead of blindly opting for the latest flagship parts, focus on components that offer the best price-to-performance ratio. As a notable example, mid-tier CPUs and GPUs frequently enough provide nearly the same gaming experience as their high-end counterparts but at a fraction of the cost. Platforms like Tom’s Hardware offer detailed benchmarks to help you identify these sweet spots.
Complementing your main parts with cost-effective accessories and peripherals can further extend your budget without sacrificing efficiency. Consider these strategies:
- Prioritize GPU power: Graphics cards typically impact gaming performance the most, so allocate a bigger portion of your budget here.
- Opt for a reliable mid-range CPU: Many modern CPUs handle gaming quite well without breaking the bank, especially models like AMD’s Ryzen 5 series or Intel’s Core i5 lineup.
- Choose 16GB of RAM: It’s the sweet spot for most contemporary games; investing in ultra-fast RAM yields diminishing returns.
| Component | Budget Option | Estimated Price | Performance Notes |
|---|---|---|---|
| GPU | NVIDIA GTX 1660 Super | $230 | Excellent 1080p gaming |
| CPU | AMD Ryzen 5 5600X | $170 | Strong multi-core performance |
| RAM | 16GB DDR4 3200MHz | $60 | Optimal for gaming and multitasking |
| Storage | 512GB NVMe SSD | $50 | fast loading times,decent space |
By referencing reliable resources such as AnandTech and TechSpot, you can stay updated on market trends and seasonal deals. This insight enables informed purchases, helping you build a capable system without overspending.
Maximizing Your Budget with Strategic Upgrades and Future-Proofing
when building your gaming PC with a tight budget, every upgrade should be an investment, not an expense. Prioritizing components that offer the most impact for the least cost is key. For instance,upgrading your GPU before anything else can provide immediate performance boosts in games,while a modest SSD can significantly cut down load times and overall system responsiveness. Crucially, select hardware that offers flexibility for future enhancements—think motherboards with extra RAM slots or power supplies with modular cables that accommodate new components.
Strategic upgrades don’t have to break the bank. Consider these tactical moves:
- Start with a solid CPU and motherboard combo to avoid bottlenecks later.
- Choose RAM with a balance of speed and capacity, leaving room for expansion.
- Invest in a scalable storage solution—an NVMe SSD paired with a traditional HDD works wonders.
- Opt for a quality power supply with some wattage overhead to handle future GPU or CPU upgrades.
To visualize your upgrade roadmap clearly, the table below breaks down typical costs versus upgrade priority:
| component | Estimated Cost | Why Upgrade? | Upgrade Priority |
|---|---|---|---|
| Graphics Card | $150-$300 | Most impact on gaming performance | High |
| SSD (NVMe) | $50-$100 | Faster boot & game load times | Medium |
| RAM (8GB → 16GB) | $40-$70 | Improves multitasking, future-proofing | Medium |
| Power Supply | $60-$100 | Stable power for new hardware | Low-Medium |
For an in-depth guide on component compatibility and the latest upgrade standards, visit Tom’s Hardware. Also, resources like TechRadar provide keen insights on price trends and component reviews that can inform your purchasing decisions.
Smart Shopping Tips for Finding Deals and Avoiding Common Pitfalls
Hunting for deals can be a thrilling part of building your gaming rig, but it requires strategy more than luck. Start by tracking price fluctuations over several weeks using tools like CamelCamelCamel or Slickdeals. These platforms notify you when components hit their lowest prices, transforming your shopping from reactive to proactive. Avoid impulse buys—check reviews and benchmark tests from trusted sources like tom’s Hardware before pulling the trigger.This can save you from purchasing outdated or incompatible parts.
Be wary of common traps such as overpaying for brand names or opting for the latest generation without clear benefits. Sometiems, last year’s release still provides the performance you need at a significantly lower cost—a smart move when on a budget. Additionally, consider refurbished or open-box components. Many retailers offer warranties on these items, making them a safe alternative that aligns perfectly with tight budgets.
- Use browser extensions like Honey or Rakuten to find hidden discounts automatically.
- Bundle purchases during sales events like Black Friday or Cyber Monday for extra savings.
- Buy seasonally: graphics cards and CPUs often go on sale when new models launch.
| Component | Best Purchase Time | Typical Discount Range |
|---|---|---|
| Graphics Card | End of Q2 / New model launch | 10-25% |
| processor (CPU) | Black Friday / Cyber Monday | 15-30% |
| RAM | Back-to-school season | 5-20% |
Step-by-Step Assembly Guide to Build Your Gaming PC Confidently
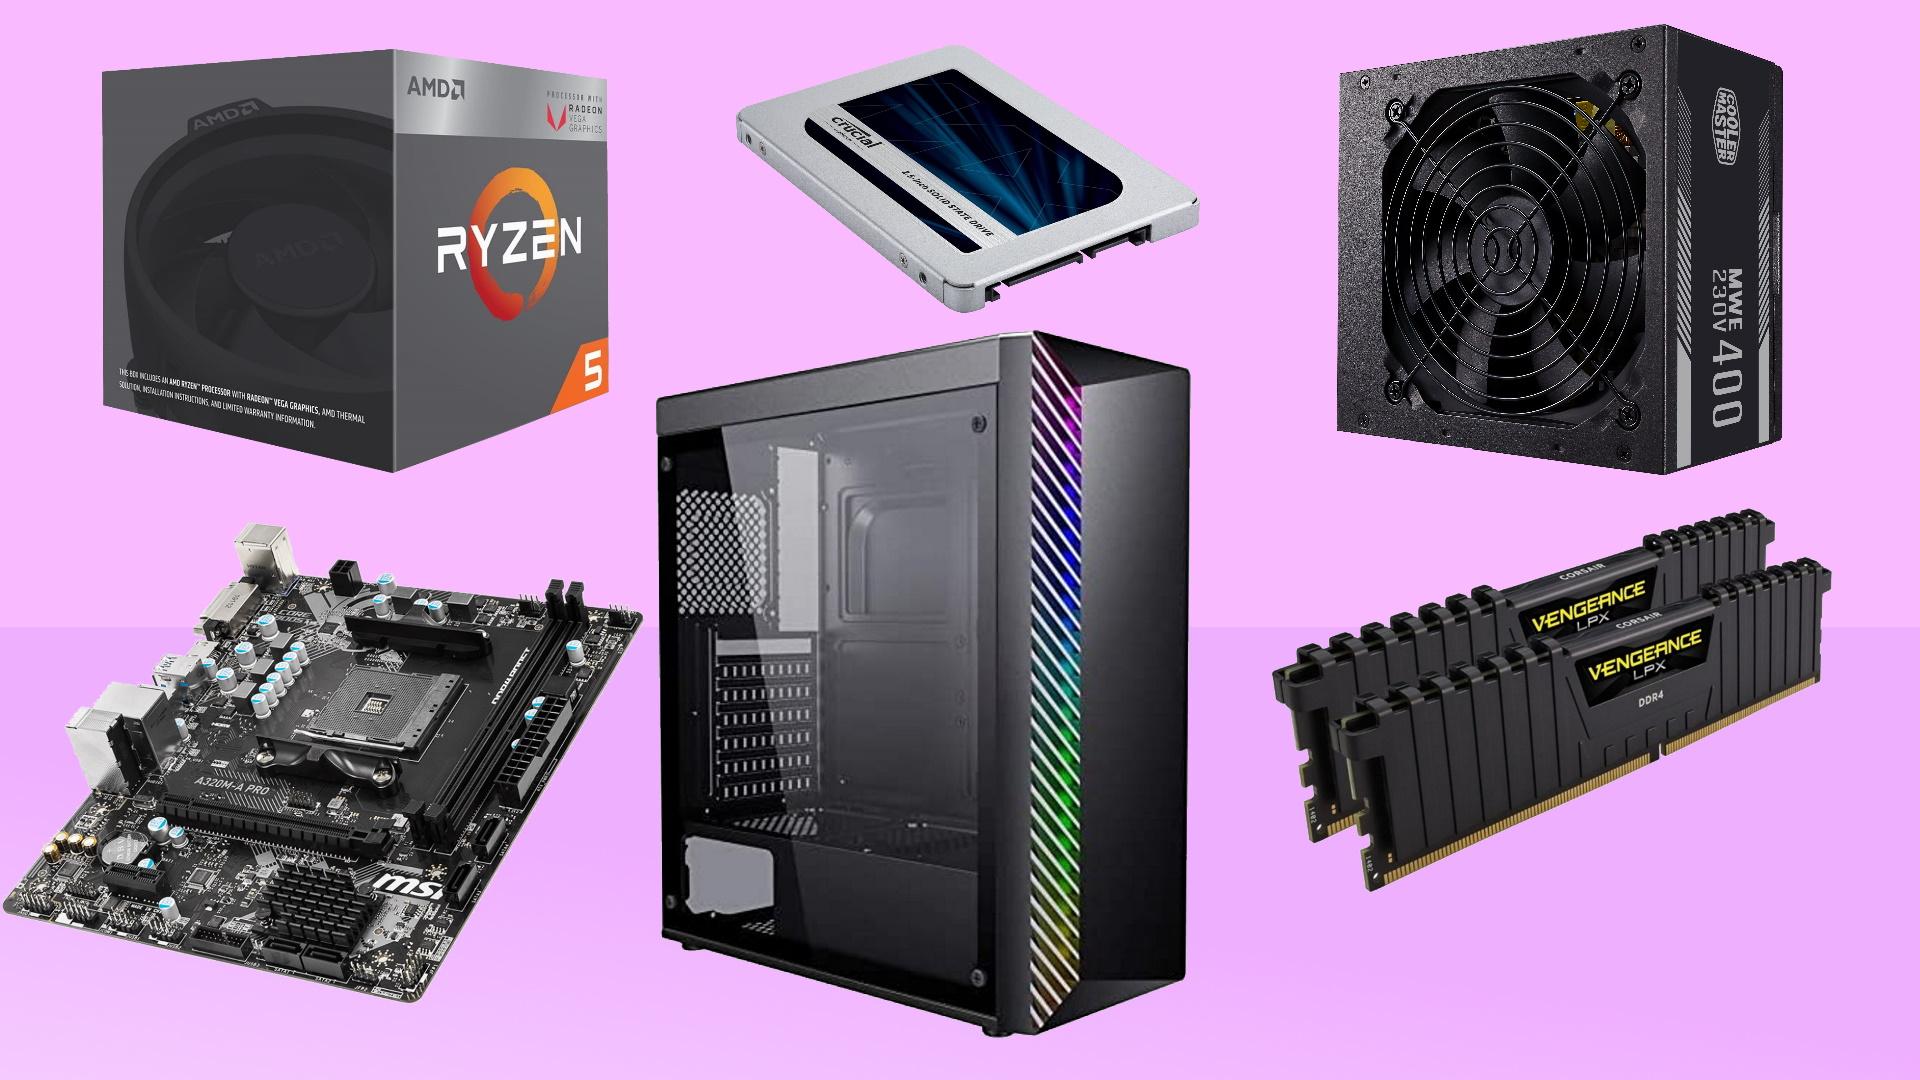
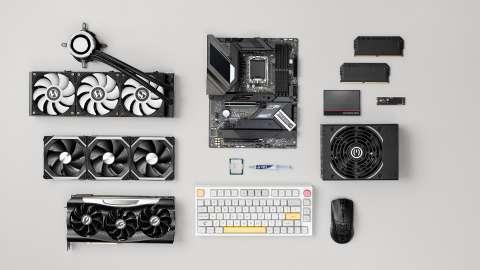
Start by preparing your workspace—a clutter-free, static-free area is essential for avoiding mishaps. Gather all your components, including the CPU, motherboard, RAM, storage drives, power supply, GPU, and cooling system. Before fitting any parts, ground yourself to discharge static electricity, using an anti-static wristband or touching a metal object.
Next, install the CPU carefully into the motherboard socket by aligning the markers, then lock it in place. Insert the RAM sticks at a slight angle until they click firmly. Fix the motherboard inside the case using standoffs to prevent shorts. After that, connect the power supply cables—start with the 24-pin motherboard power and the 8-pin CPU power connectors. Take a moment to route cables neatly, optimizing airflow.
- Step 1: Attach your GPU to the correct PCIe slot.
- Step 2: Secure fans and connect case front panel wires.
- Step 3: Add storage drives and connect SATA or nvme cables.
Before powering on, double-check all connections and ensure no loose screws or cables obstruct moving parts. For detailed guidance on component compatibility and assembly tips, visit Tom’s Hardware and PCPartPicker. These resources offer invaluable tools to verify your build’s integrity and budget considerations.
Optimizing Settings and Maintenance for Long-Term gaming Efficiency
Efficient settings and routine maintenance can dramatically extend the lifespan and performance of your gaming PC without burning a hole in your wallet. Start by customizing your in-game settings to balance visuals and performance; lowering shadows, turning off unnecessary effects, and adjusting resolution scale can prevent your hardware from overheating or lagging during intensive gaming sessions.
Regular upkeep is just as crucial. Dust buildup inside your case can cause thermal throttling and decrease component longevity. Use compressed air every few months to clean vents, fans, and heatsinks. Monitoring temperatures with tools like HWiNFO or HWMonitor is essential for identifying early signs of hardware strain so you can take action before damage occurs.
- Update drivers regularly from official sources such as NVIDIA or AMD to ensure compatibility and optimize performance.
- Defragment your HDDs every month if you use traditional drives; SSDs do not require this step.
- Invest in quality thermal paste and replace it every 2 years for efficient CPU cooling.
| Maintenance Task | Frequency | Benefit |
|---|---|---|
| dust Cleaning | every 3 months | Prevents overheating |
| Driver Updates | Monthly | Ensures optimal performance |
| System Cleanup | Every 6 months | Faster load times |
Future Outlook
Building a gaming PC on a budget is more than just a cost-saving exercise—it’s a rewarding journey of creativity, patience, and strategic choices. With careful planning and smart component selections, you can assemble a rig that delivers impressive performance without emptying your wallet. remember, the perfect gaming setup isn’t about having the most expensive parts but about making the most of what you can afford. So, gear up, stay curious, and get ready to dive into immersive worlds—all from a PC you built yourself, proving that great gaming experiences don’t have to come with a hefty price tag.